
The Practical Guide to Shipping: How to Pack, Price, and Protect Your Handmade Products
Stop guessing and start shipping! Master the three P's of creative fulfillment: Packaging, Pricing, and Protection, for a flawless customer experience every time
The Final Step of Creation
You’ve poured your skill, time, and heart into creating a beautiful piece. You've taken the perfect product photos and written an irresistible listing.
The hardest part is over, right? Well, almost. The moment that "Sold" notification comes in, a new challenge begins: getting your beautiful creation from your hands to your customer's hands safely, affordably, and beautifully. This final step—shipping—can often feel like the most complex part of the creative business journey.
Fragmented advice on bubble wrap versus shipping software can quickly lead to overwhelm. But a successful launch is about clarity, not complexity.
This guide gives you a simple, three-part framework for mastering your shipping strategy so you can deliver a five-star experience every single time, without eating into your profit.

Part 1: Perfecting Your Protection Strategy (Packaging)
The key to happy customers is a product that arrives in one piece, looking just as good (or better!) than it did online. Your packaging is a key touchpoint in your customer experience, not just a cardboard box.
Actionable Tip 1: The 'Drop Test' for Peace of Mind
Package a finished product prototype exactly how you plan to ship it.
Drop it from hip height. If it survives, your product is protected. If not, it's time to add more padding or choose sturdier outer packaging.

Customers don’t want to see the product they ordered arrive looking like this!

Your product needs to arrive just as you sent it and conveying the care you have taken to make and send the item (this conveys VALUE) in the eyes of the customer!
Actionable Tip 2: Packaging for the Planet and Your Brand
Explore materials that are both protective and on-brand, such as recycled crinkle paper, biodegradable packing peanuts, or custom-stamped tissue paper. This is a chance to show your authenticity and values.
When starting out in your creative business, handmade materials like recycled newspaper, string or ribbon can be both effective and unique.
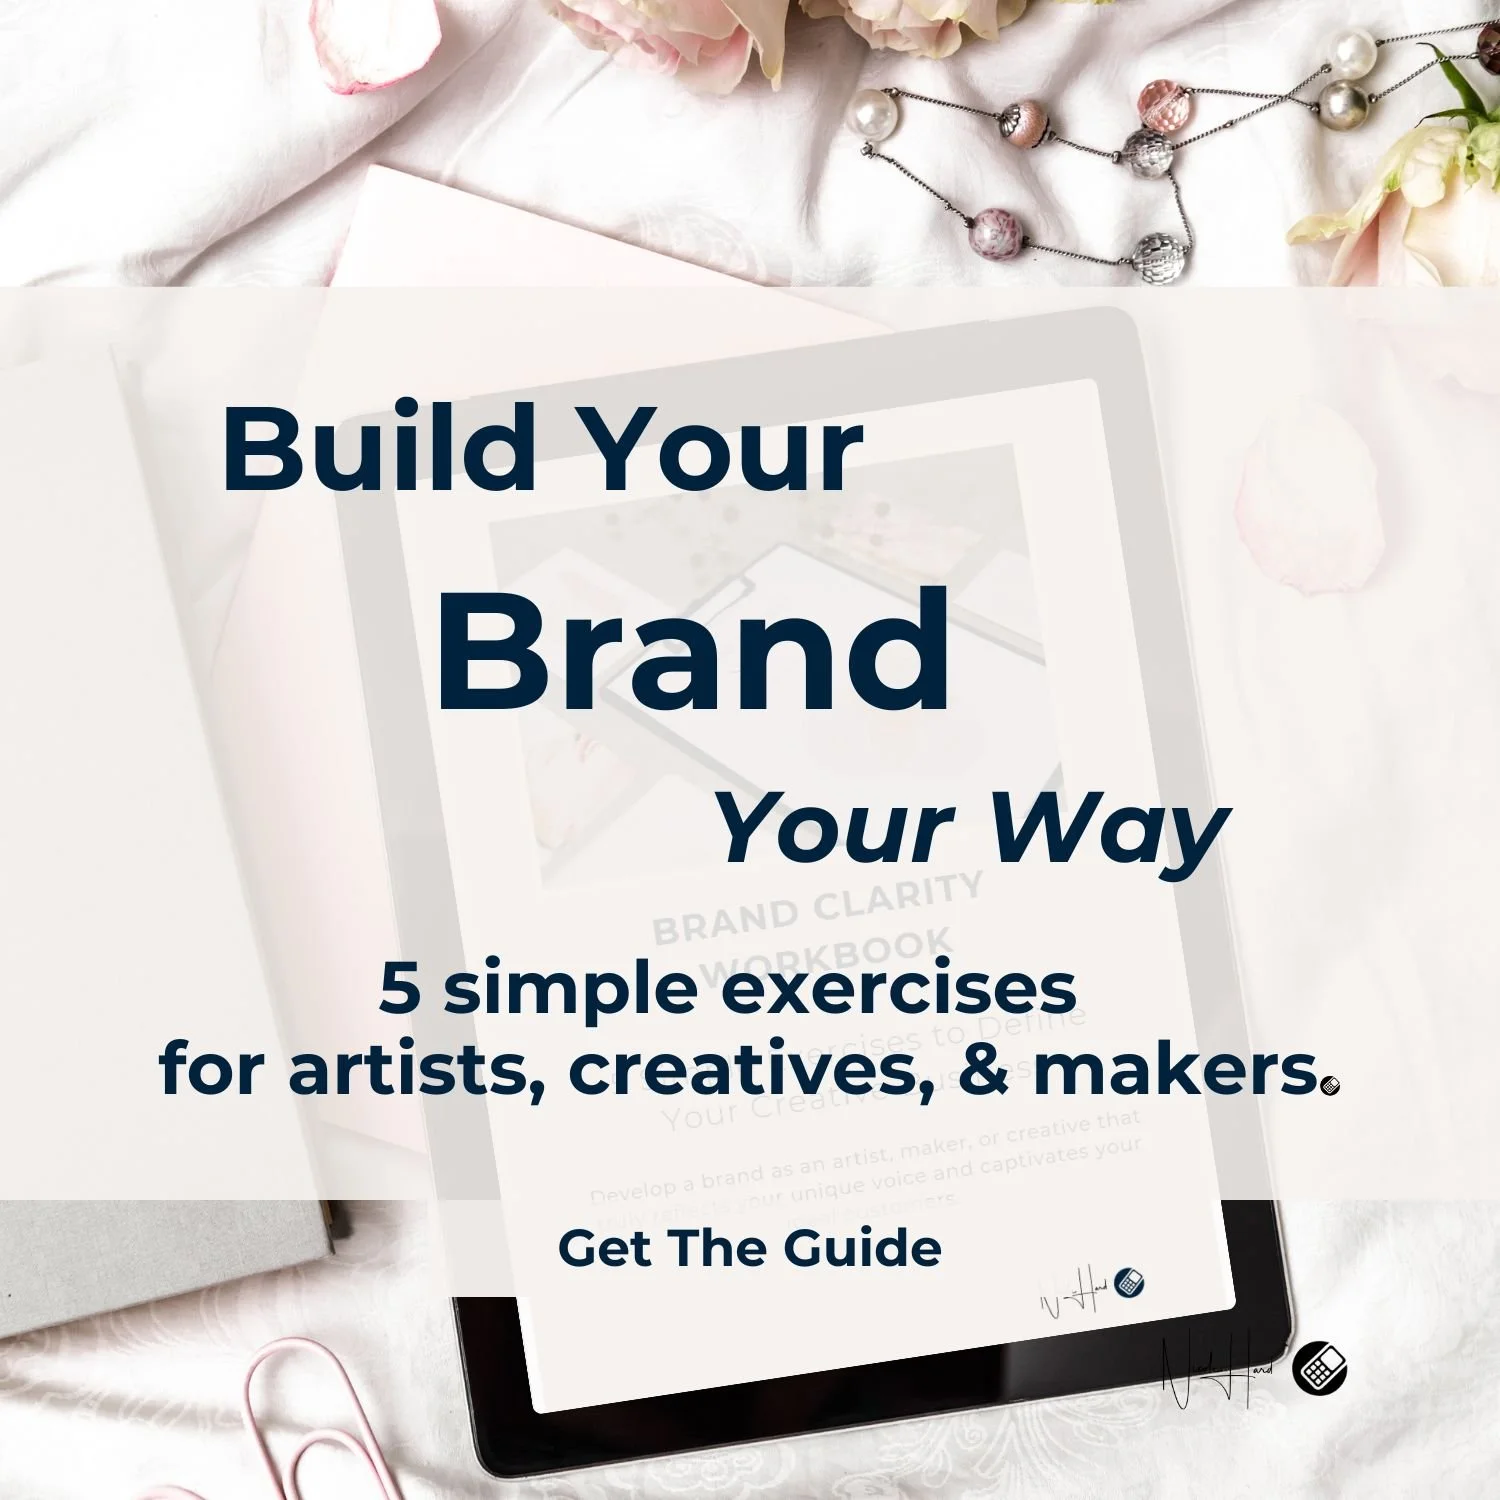
Need a Deeper Dive? We have posts dedicated to branding. Click below👇for more on the topic.

Actionable Tip 3: Turn Unboxing into a Memory (The Little Details)
Your packaging is the final extension of your brand and the first physical experience your customer has with your business. Don't let it be an afterthought!
Go beyond the box: Include a simple, branded touch, like a personalized thank-you note or a small complimentary gift (perhaps one of your designated "add-on" items). This elevates the moment from a simple transaction to a memorable experience.
Embrace the details: Little things matter here. Use quality products that feel intentional—think crisp, branded tissue paper, a signature ribbon, or a custom sticker.
The Big Payoff: These thoughtful details confirm to your customer that they've made a wise purchase. They show the care you poured into the piece, strengthening their connection to your brand and making them excited to buy from you again.

Make your customer feel special during the unboxing of your product!
Need Inspiration? This Pinterest Board has loads of inspiring and creative packaging ideas.
Part 2: Precision Pricing to Protect Your Profit (Costs)
The biggest financial mistake a new maker makes is undercharging for shipping—or worse, absorbing the true cost themselves. Shipping costs must be built into your business model.
Actionable Tip 1: Measure and Weigh Everything
The only way to get accurate shipping quotes is to know the final, exact dimensions and weight of your item once it's fully packaged. This precision is non-negotiable for calculating accurate shipping rates.
Actionable Tip 2: The Packaging Trial
It’s vital to purchase and trial packaging your product in various ways.
When you first start, you can source trial materials from local hobby stores, post offices, or even general dollar/pound stores. Once you find the perfect mix of protection and visual appeal, measure the packed dimensions (Height x Length x Width) and the final weight. This is the number you need for your price calculations.
Actionable Tip 3: The Three Shipping Structures
Decide which shipping strategy makes the most sense for your new business:
Flat Rate: Simple for the customer, but requires you to find an average price that won't lose you money on larger or heavier orders.
Calculated Rate: The most accurate. Your storefront connects to a carrier to calculate the cost based on the customer’s address and your pre-set product weights/dimensions.
Free Shipping: This is a marketing strategy! Remember to add the average shipping cost back into your product price so you're not paying out of pocket.
A Note on International Shipping
If you ship globally, you must clearly understand customs forms, duties, and taxes. Provide a transparent policy on who is responsible for these extra costs (it’s almost always the customer).
WARNING for New Makers: When you are starting out, I strongly recommend selling only within your own state/region and country. This is a wise starting point. As you establish your brand, refine your products, and master your packaging and shipping methods (and as you grow!), you can expand your reach. It’s vital to be aware of strict customs and compliance requirements when sending packages overseas, as customers can be hit with costly, unexpected fees to collect their parcel, which instantly harms their experience with your brand.
Not a business expert? If you are unsure about the business side of things OR how to plan your products, pricing and brand your next action should be to sign up for our free class, ’The Business Idea Maximizer’. This 6-part video series walks you through the initial planning phases, some business rules, along with clarity to move forward with confidence. I’ve added links to the free class at the⬇️bottom of this blog post (p.s. you can watch the video classes at any time once you’ve registered!)..


Part 3: Professional Processes (Carriers & Policies)
Moving from occasional seller to professional business requires reliable systems. This is where you leverage modern tools to work efficiently.
Actionable Tip 1: Choosing a Partner, Not Just a Post Office
Look at third-party shipping platforms or dedicated carriers that integrate with your online store (like Etsy, or Shopify). Tools like Easyship can help you compare rates and print labels at home, saving you countless trips and time.
If you are shipping art or large sculptures specialist and local couriers are well worth considering. They typically provide competitive rates and get your products to customers with care.
Actionable Tip 2: The Power of Tracking
Always, always offer tracking. This simple step protects you against 'lost item' claims and provides peace of mind for your customer.
Your local post office is often a great first option for trackable postage which is affordable and reliable.
Actionable Tip 3: Write Your Shipping Policies with Clarity
Your customers need to know the expected processing time (how long it takes you to make or pack the item), the estimated shipping time, and your returns/damage policy. A clear policy builds trust and reduces customer service questions.
Always update the customer with a simple email or message on the progress. Be proactive here when you are starting out if you are not using a website with integrated shipping or a Shipping App.
Key Takeaways
Your shipping packaging is part of your brand—make sure it reflects your Authenticity.
Don't guess on shipping costs; Price with precision using your final packaged weight and dimensions.
Choose a shipping carrier that integrates with your store for a streamlined, professional Process.
Clarity in your shipping policies builds trust with your audience from day one.
Ship with Confidence and Step Back into Your Studio
Shipping doesn't have to be a source of stress. By creating a system for your Packaging, Pricing, and Processes, you transform a logistical headache into a professional, profitable part of your creative business. You now have the fundamental steps you need to send your beautiful work out into the world with absolute confidence.
If you’re ready to take this clarity and apply it to every other step of your business—from refining your idea to crafting your launch—our comprehensive framework is designed to get you there with ease.
Remember, you don't have to figure it out alone—we're here to support your entire journey through our guides, free resources, and the full SmartSTARTERZ program. Go out there and build the creative business you've always dreamed of! 🚀
Ready to Stop Guessing and Start Building?
If you're ready to lay an unshakeable foundation for your creative business, the next step is clear.
Your next step
Our FREE 6-Part Business Idea Maximizer will help you apply these steps, guiding you from an abstract idea to a concrete plan so you can start towards launching your own profitable online endeavour with confidence and clarity.
P.S. Your class access is 24/7—watch, pause, and review whenever you like.

Interested? Find out more here
Discover More Great Content
Click the images below👇to access our whole library of guides, posts and resources.


Stay Inspired & Get Actionable Tips!
Follow us on Pinterest for a treasure trove of beautifully creative ideas, practical tips, and valuable knowledge across all our boards. It's where all the magic happens!
Explore Our Full Creative Business Roadmap
Unsure of your next step? Our interactive roadmap provides a clear path through every stage of building a successful creative business, linking you to the exact resources you need. See The Creative Business Roadmap.
Ready to Take Your Products from Studio to Stall?
You’ve poured your skills and passion into creating something truly wonderful, but now you’re asking the big question: What's the next step to turn this hobby into a business? Selling at a craft market is a vital way to test your products, validate your ideas, and gain confidence in your creative journey, but the planning can feel overwhelming.
Stop guessing and start preparing with the Market Ready Mini Guide.

This comprehensive, 147-page guide is your complete, step-by-step blueprint for market success. We’ve broken down all the essential elements so you can feel confident, prepared, and ready to look like a seasoned professional:
The Planning Phase: Everything from choosing the right venue to ensuring you're legally ready to sell.
Irresistible Display: Step-by-step instructions on how to set up your stall, create magnetic product displays, and design professional signage.
Sales Success: Practical advice on payment methods, confidently engaging with your very first customers, and maximizing your visibility.
Get the Market Ready Mini Guide today and gain the clarity and practical knowledge you need. You'll walk into your first craft market knowing exactly what to do and how to do it—ready to make those first exciting sales with total confidence.
A Sign-off from Me
Thank you for being here, and I can't wait to help you build a business that shines!
Warmly, Nicole! 🌱
Building online businesses for passionate makers.
Feeling stuck?
Reach out to us by Email and we’ll send you feedback on your creative designs, AI or any business related topics.
A brand is more than just a logo. Discover what a true creative business brand is and why defining your unique identity is the key to building trust, standing out, and connecting with customers.